Ninja Creami Strawberry Ice Cream Recipe: A Homemade Delight
Ninja Creami Strawberry Ice Cream Overview
Please note, this page includes affiliate links. If you make a purchase following one of my links, I will earn a commission.
I’m a true believer in the power of the Ninja Creami ice cream machine. This is my new favorite go-to method for making homemade ice cream whether I’m looking to avoid store-bought ice creams or looking to get creative.
I’ve perfected the vanilla ice cream recipe so time to move on to a creamy strawberry ice cream. This isn’t the strawberry ice cream that you’ll find left in a pint of Neapolitan ice cream. I know you know what I’m talking about. As kids, we always ate the vanilla and chocolate ice cream first and our dad would get stuck with the strawberry.
This recipe uses real strawberries, preferably fresh fruit, and a little lemon juice to bring out the vibrant flavors of the strawberries. No artificial flavors in this recipe. If you are making this recipe outside of strawberry season, you can still make this sweet treat with frozen fruit – just thaw it out first so you can add it to the mixture.
What Is the Ninja Creami Machine?
The Ninja Creami turns frozen solid bases into rich, smooth creamy ice cream with the press of a button. Learn more at my intro to the Ninja Creami.
Key Features of Ninja Creami
When I’m making my homemade strawberry ice cream, the key features of the Ninja Creami are what make the magic happen:
- One-Touch Programs: I use the ice cream option on my Ninja Creami
- Pint Container: The Ninja Creami comes with a specifically designed pint container that works seamlessly with the machine. Make sure not to overfill and ensure you place the jar level in your freezer.
- Creamify Technology: This is the game-changer. It ensures that my strawberry ice cream has that signature creamy texture every time.
- Customizable: I love that I can add mix-ins after the initial spin. If I’m feeling adventurous, I throw in some additional fresh strawberries or chocolate chips.
Each feature plays its part in transforming my simple mixture into perfect Ninja Creami strawberry ice cream ready to be enjoyed straight from the freezer.
Crafting the Perfect Strawberry Ice Cream
I’ve spent countless hours in the kitchen, attempting to perfect the art of homemade ice cream. I’m still a fan of no-churn ice cream but the creaminess and ease of making homemade ice cream in the Ninja Creami is next level. Let’s dive into the key elements that make for an outstanding strawberry ice cream.
First and foremost, heavy cream is needed to achieve the creamy texture. Lower-fat milk alternatives will be less creamy and more likely to have ice crystals. Secondly, you need to add your sweeteners – for this recipe, we use granulated white sugar, agave nectar and a touch of vanilla extract. The agave nectar is a great substitute for corn syrup which helps create smoothness and mouth feel that you expect with ice cream. The star ingredient though is the fresh strawberries that are accented by some fresh lemon juice. This combination is perfection.
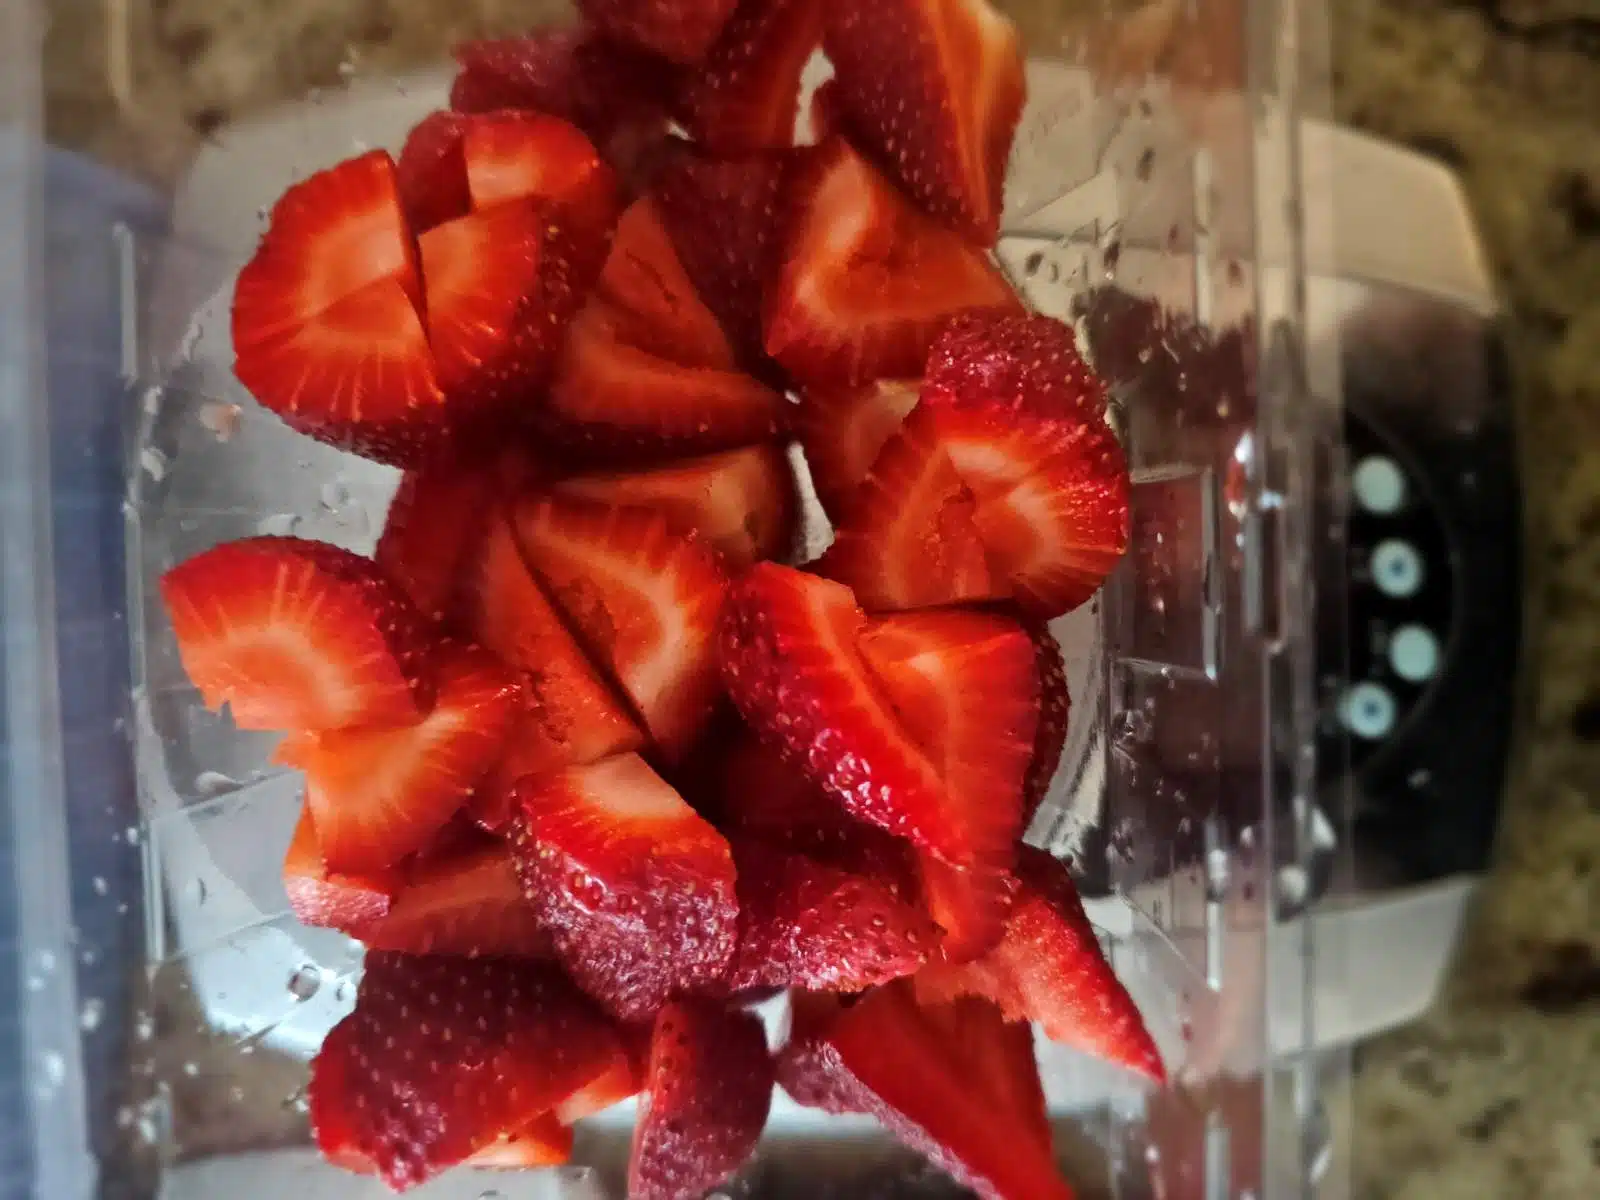
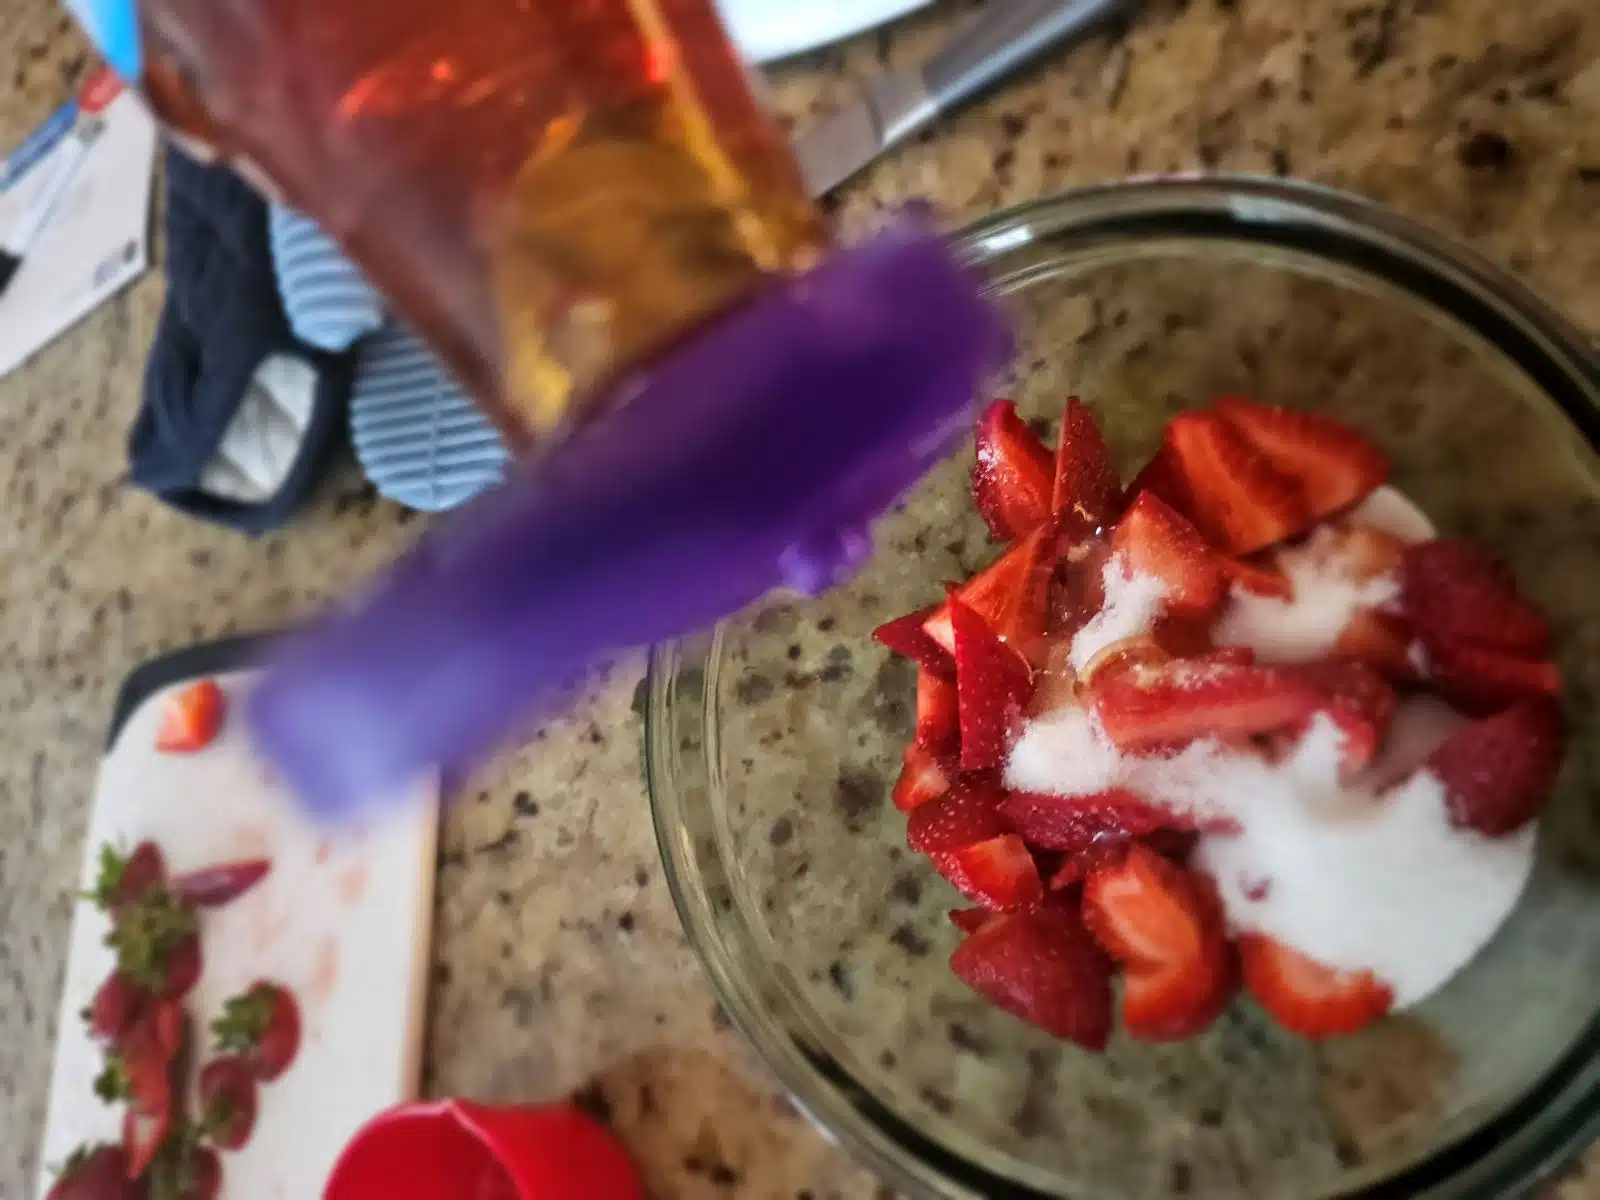
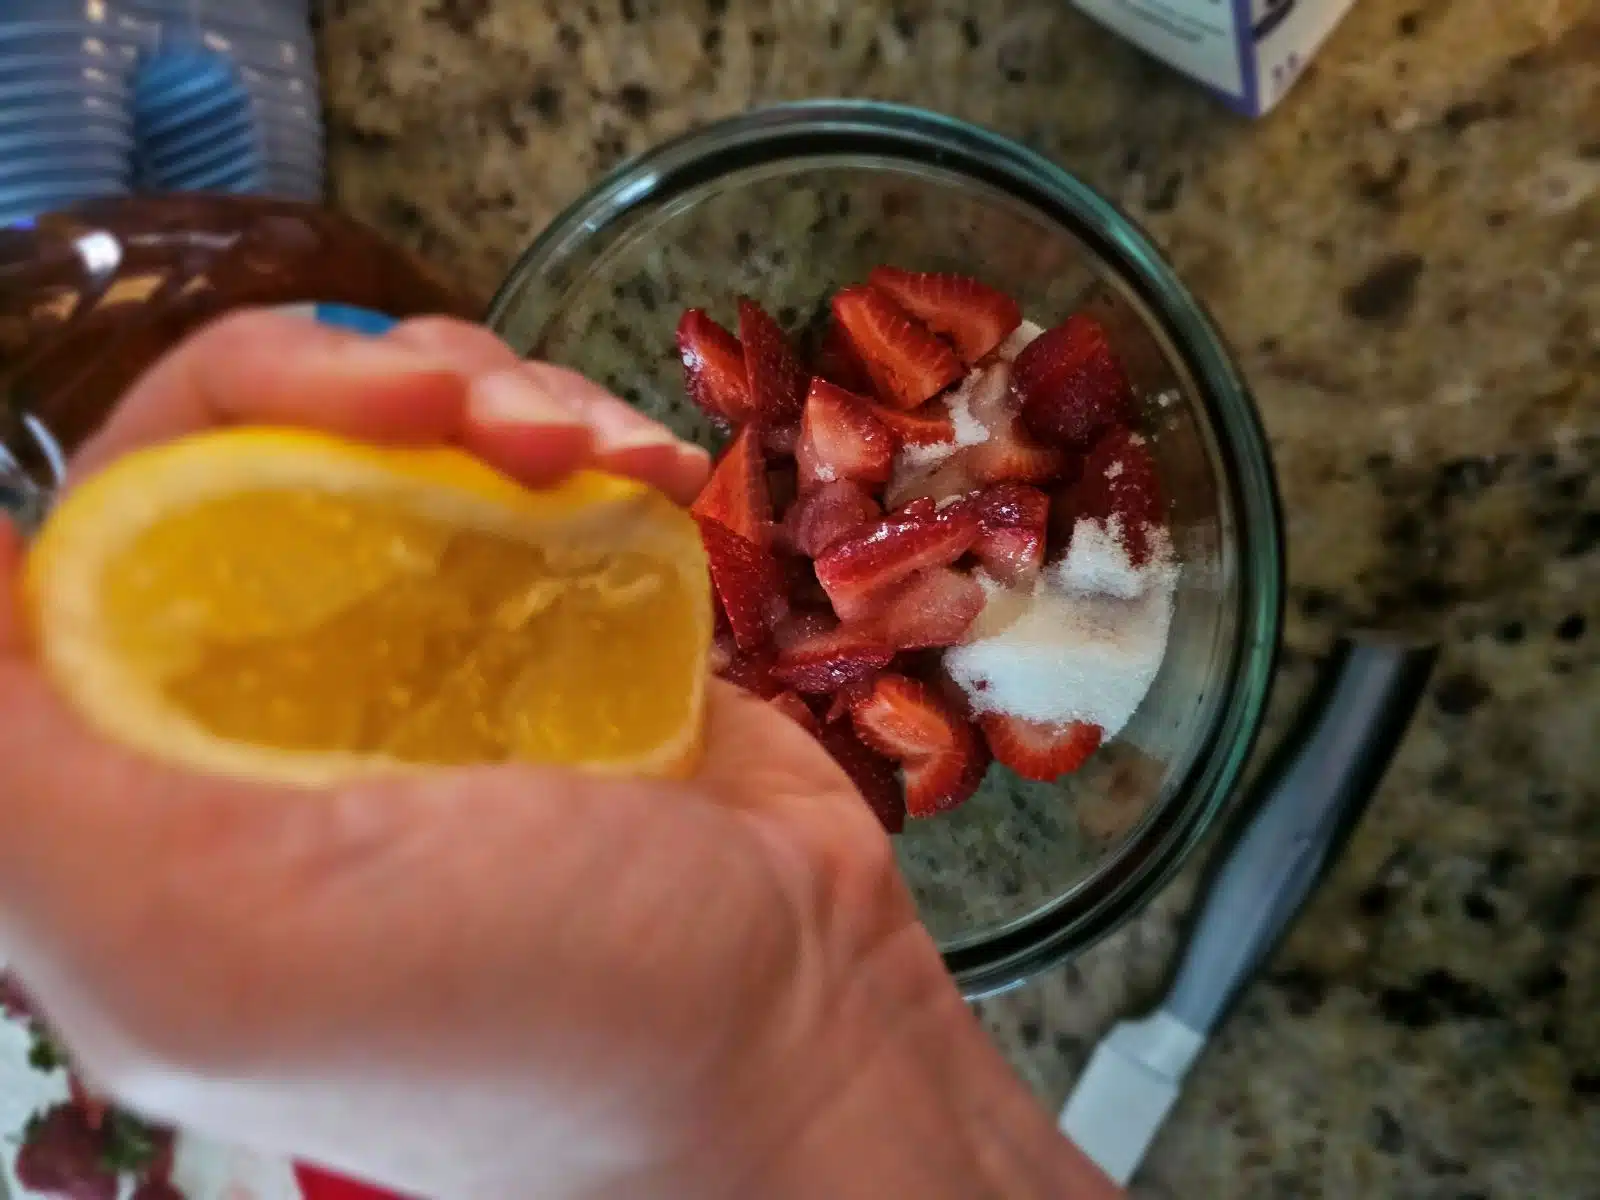
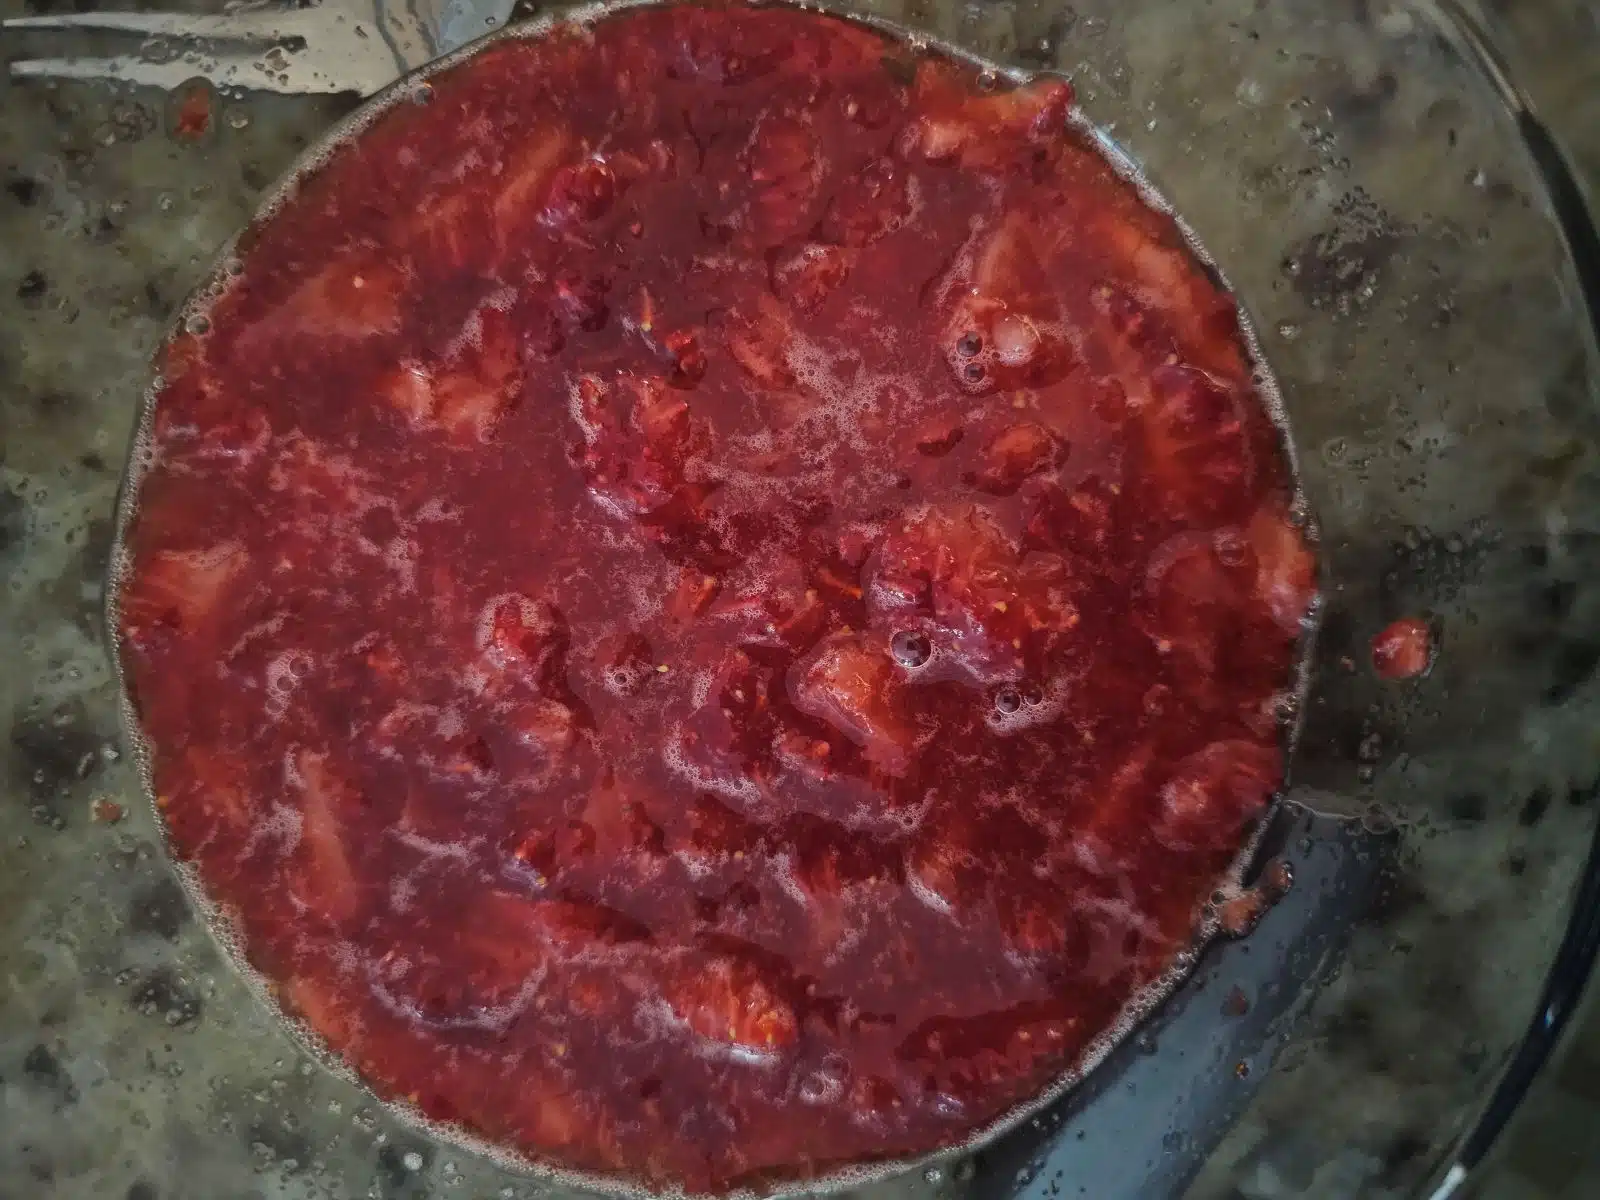
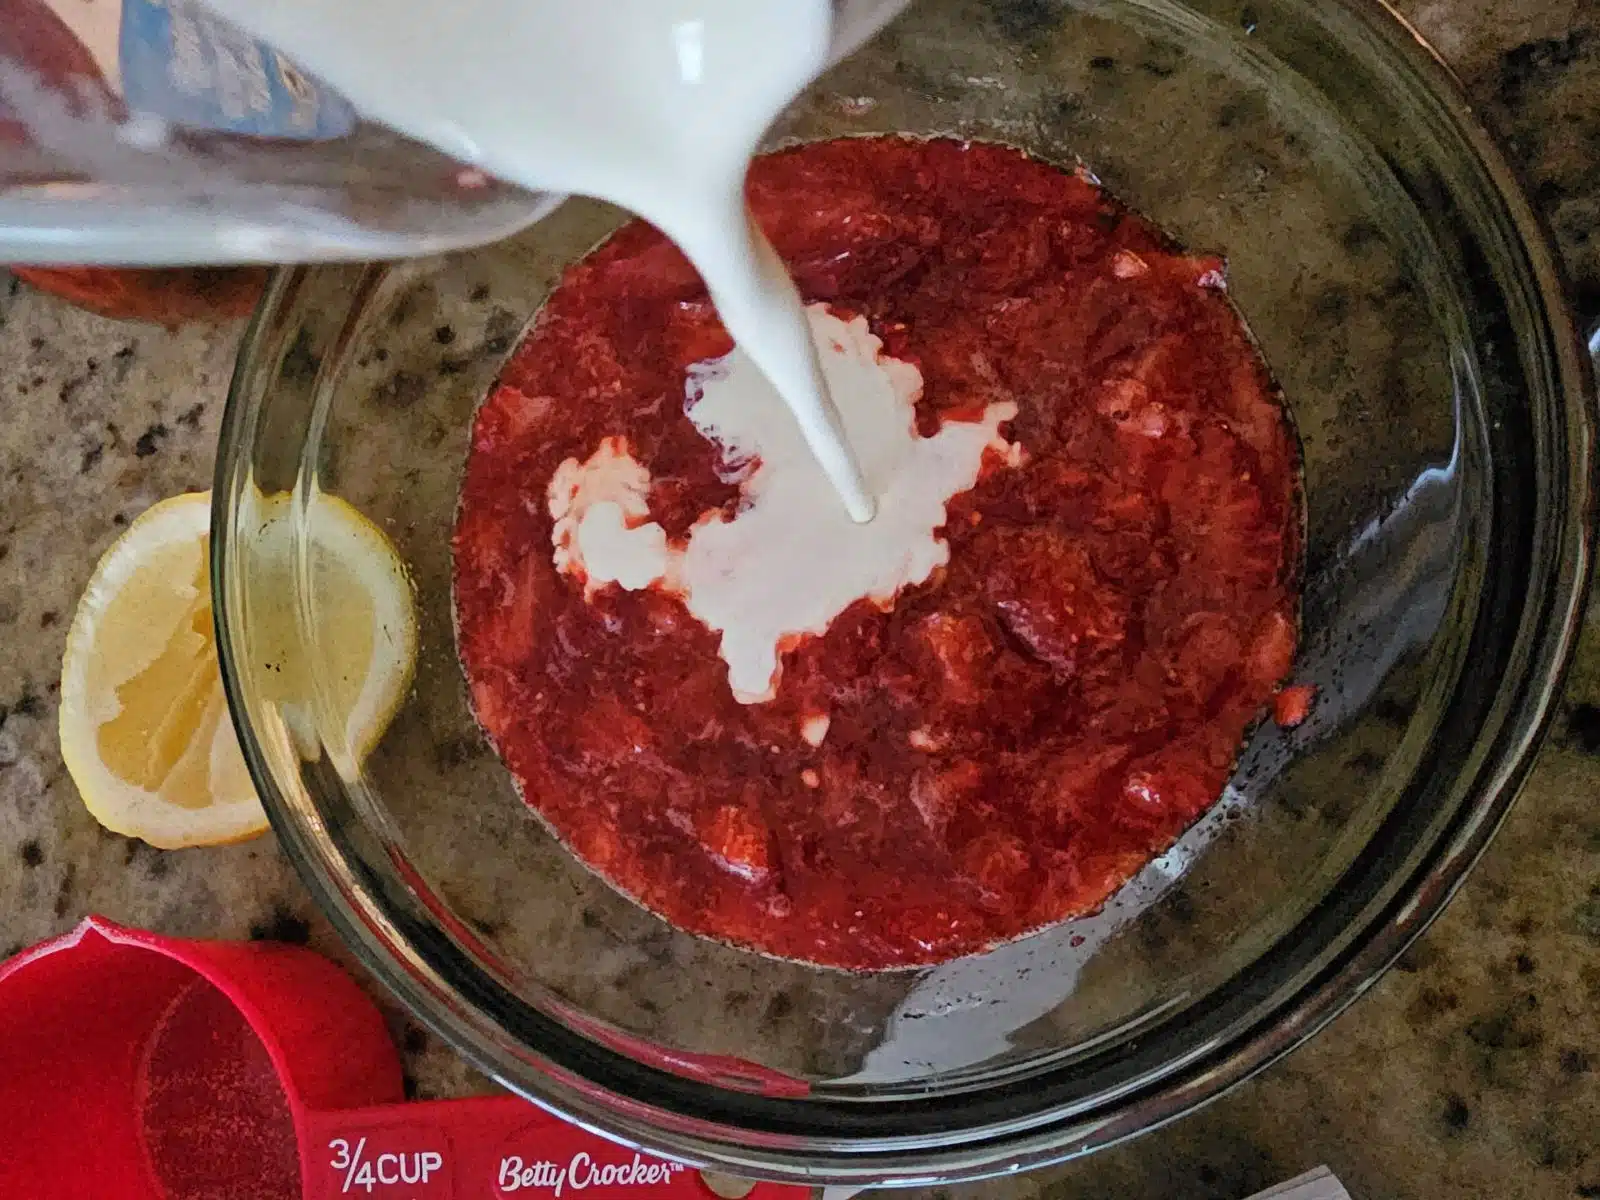
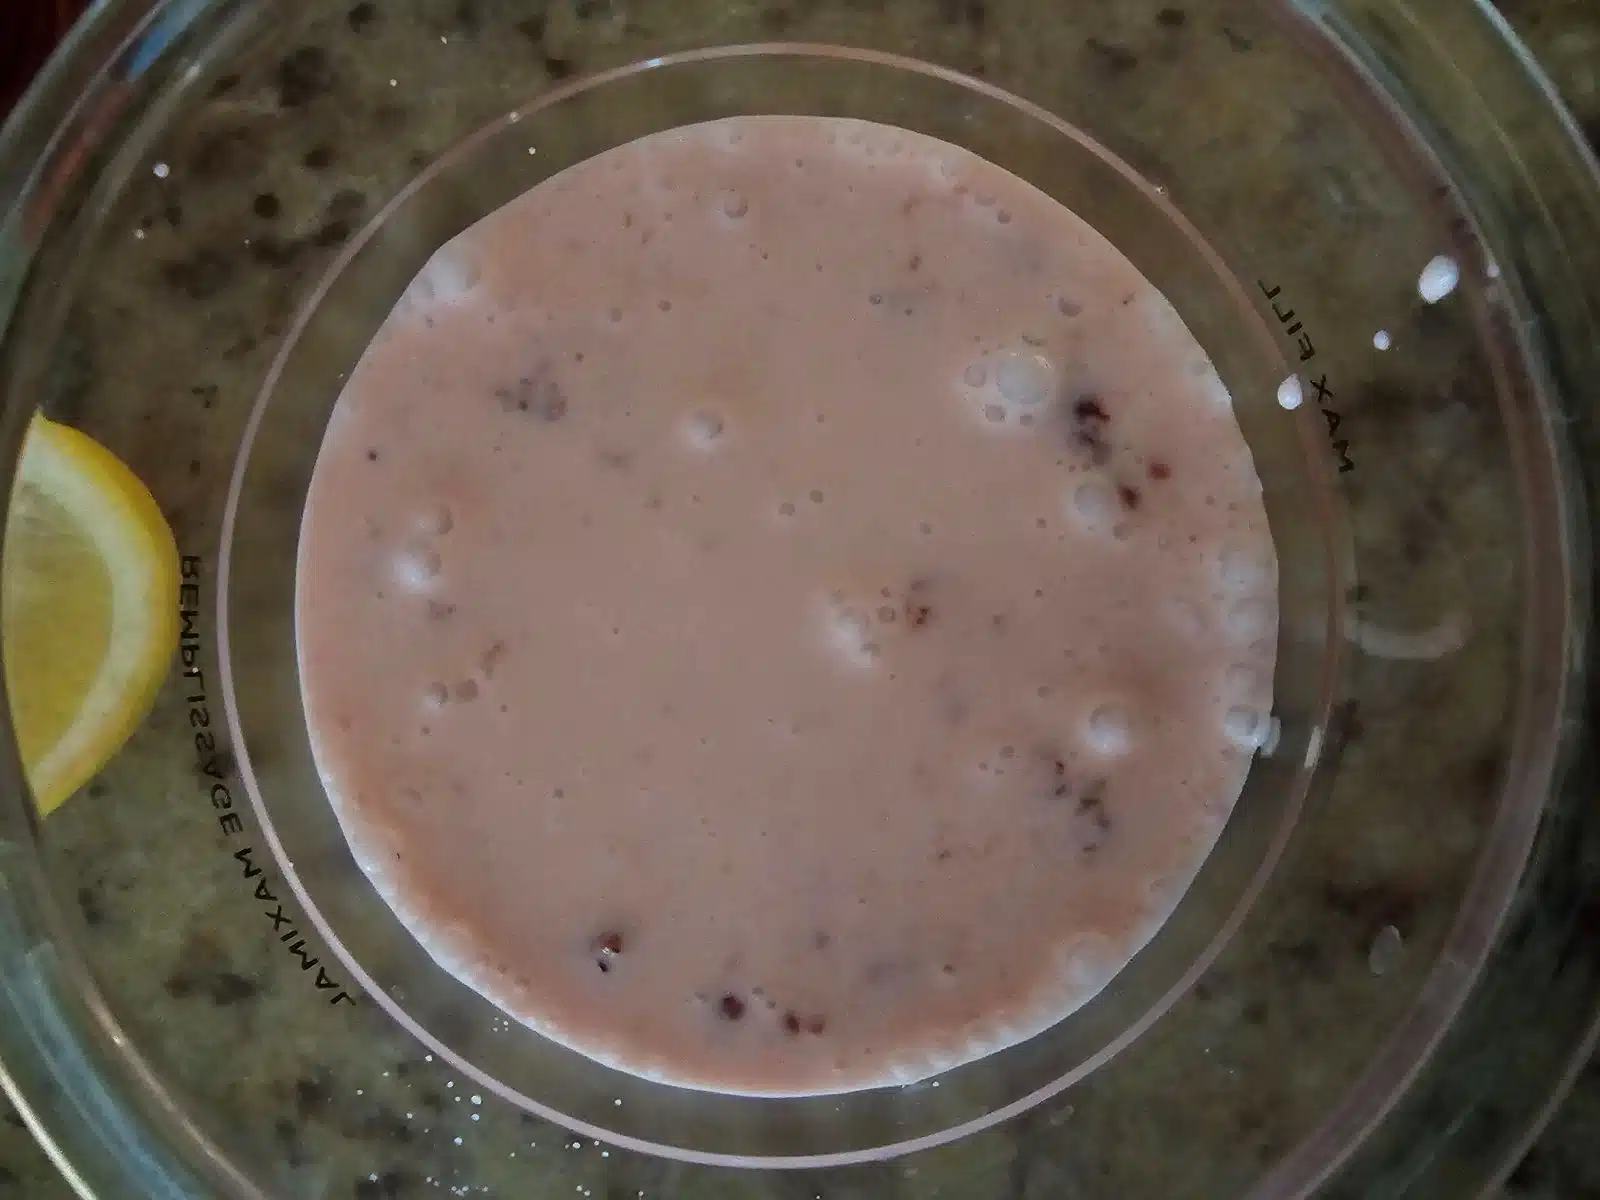
While the best Ninja Creami Vanilla Ice Cream uses cream cheese to achieve the creamy base, it isn’t needed for this strawberry ice cream recipe.
After mixing, I just freeze my strawberry ice cream base in the Ninja Creami pint container, making sure not to exceed the max fill line. After a day in the freezer, I can pop the pint container into the Ninja Creami blender jar to spin it into that dreamy creamy texture, which often reminds me of the best artisanal versions I’ve tried. Most often, I get the best results after the first spin but if needed, you can use the respin function to remix until you get the best consistency. You’ll be amazed by the velvety texture and this could easily become your favorite recipe.
My favorite way to serve is scooped on a waffle cone.
Strawberry Ice Cream Recipe Essentials
Crafting an indulgent strawberry ice cream starts with a solid recipe foundation.
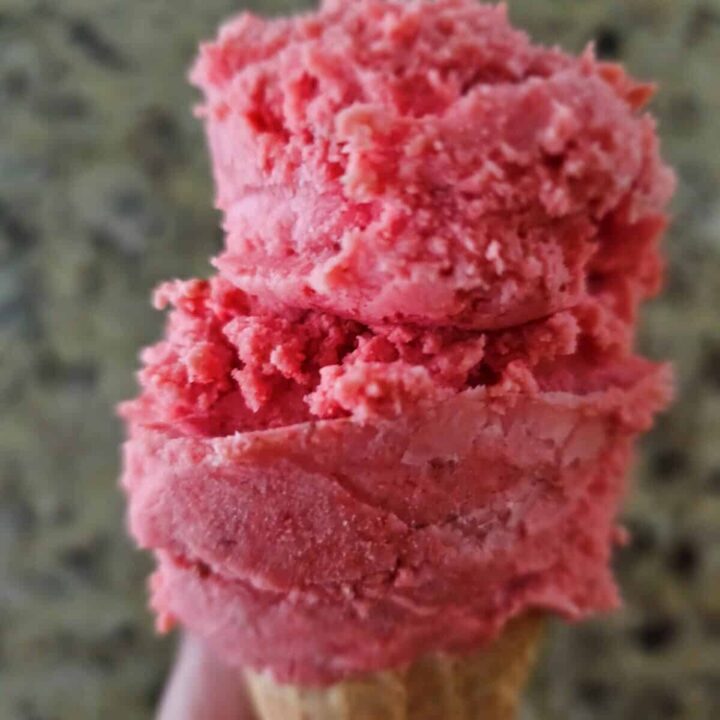
Ninja Creami Strawberry Ice cream
Ingredients
- 225 grams of fresh strawberries (approx. 2/3 pint)
- 100 grams of white, granulated sugar
- 1 teaspoon of agave syrup
- 1 teaspoon of fresh lemon juice
- 1 cup of heavy cream
Instructions
- Wash and hull strawberries. Cut into quarters.
- Add strawberries to a bowl with granulated sugar, fresh lemon juice and agave syrup.
- Mash the strawberries with a fork and let the mixture sit for 10-15 minutes.
- Add the cream and gently stir.
- Pour into Ninja Creami Pint Jar. Do not exceed the max fill line.
- Cover the pint jar and freeze for 24 hours.
- Remove from freezer. Remove the lid and place the pint container in the outer bowl. Follow the instructions for your Ninja Creami.
- Once assembled, run the Ice Cream Program.
- Check the consistency and respin if required.
Notes
Add mix-ins following the first spin if desired.
Adapted from the Ninja Creami Strawberry Ice Cream Recipe.
Nutrition Information:
Yield: 4 Serving Size: 1Amount Per Serving: Calories: 322Total Fat: 22gSaturated Fat: 14gTrans Fat: 1gUnsaturated Fat: 6gCholesterol: 67mgSodium: 17mgCarbohydrates: 32gFiber: 1gSugar: 30gProtein: 2g
Please note, that the nutritional details are an estimate only and may differ depending on the source of your ingredients. Optional ingredients may be included.
Strawberry Selection: Fresh Vs. Frozen
The star ingredient, strawberries, can make or break the recipe. I’ve found that both fresh and frozen strawberries work, but they offer different benefits. Fresh strawberries, when in season, provide a vibrant, natural sweetness, but frozen strawberries are consistent in flavor and available year-round. My choice depends on the season and availability.
| Fresh Strawberries | Frozen Strawberries |
|---|---|
| Natural sweetness varies by season | Consistent flavor year-round |
| Need hulling and slicing | Pre-hulled and typically sliced |
| Perfect when peak season | Convenient anytime |
Dairy and Non-Dairy Options
Some folks are all about dairy, while others prefer plant-based alternatives. I frequently use whole milk and heavy whipping cream for making my ice cream bases. This recipe only requires heavy cream. But for the dairy-free crowd, my go-to’s are coconut milk and unsweetened coconut cream because they provide a creamy texture that mimics traditional dairy very well.
| Dairy Options | Non-Dairy Options |
|---|---|
| Whole milk and heavy cream | Coconut milk and coconut cream |
| Creamy and rich flavor | Vegan-friendly and creamy |
Mix-Ins and Flavor Variations
Variety is the spice of life, and when it comes to mix-ins, I let my creativity run wild! Chocolate chips add a delightful crunch, while a spoon of vanilla bean paste can enhance the overall flavor profile. Don’t be afraid to experiment with variations like adding sweetened condensed milk for extra richness or using natural sweeteners for a healthier option. I often tailor my mix-ins to suit the occasion or my current craving.
- For a classic twist: Add ½ cup of chocolate chips or a swirl of sweetened condensed milk.
- For adventurous palates: Try a dash of cinnamon or a sprinkle of freeze-dried strawberry powder.
- For pure indulgence: Mix in chunks of cheesecake or swirls of strawberry sauce.
With these tips and a casual, playful approach, you’ll soon be savoring your homemade masterpiece—creamier, fresher, and more personalized than any store-bought variety could ever be.
Preparation, Serving, and Storage Tips
Creating homemade strawberry ice cream with my Ninja Creami is rewarding and delicious. I’ve got some insider tips on using the device, garnishing your frozen treat, and keeping it fresh.
How to Use Your Ninja Creami
When I make strawberry ice cream, I start by blending six simple ingredients into a mixture—ripe strawberries, sugar, cream, milk, and a touch of vanilla extract and lemon juice. After pouring into an empty Ninja Creami pint container, my mixture goes straight into the freezer. Freezing process is crucial: it must be solid, which takes at least 24 hours. When I’m ready, I pop the frozen base into my Ninja Creami and use the ‘Ice Cream’ function. If needed, a re-spin ensures a smooth consistency.
Serving Suggestions and Toppings
- Fresh slices of ripe strawberries: adding a natural sweetness.
- Whipped cream: for a touch of richness.
- Nuts or granola: for a bit of crunch.
- A drizzle of syrup or honey: for an extra indulgent treat.
Proper Storage for Lasting Freshness
To ensure lasting freshness for leftovers, I follow these storage tips:
| Action | Reason |
|---|---|
| Transfer to an airtight container if not in Creami pint | Minimizes ice crystal formation |
| Keep in the back of the freezer | The temperature is more consistent |
| Consume within one month | Flavor and texture are best |
Using the re-spin feature of the Ninja Creami before serving helps bring back that just-churned texture, even after storage. If refreezing your already spun ice cream, make sure to level the top of the mixture before putting the lid back on.
To make my Ninja Creami ice cream creamier, I ensure that my mixture has enough fat content by using ingredients like heavy cream or full-fat coconut milk. I also run the machine for an extra cycle or two which helps to churn the ice cream more thoroughly, incorporating more air and creating a silkier texture.
Yes, it’s possible to make dairy-free ice cream with the Ninja Creami. I swap out regular milk with plant-based alternatives like almond milk, coconut milk, or oat milk. I’ve found that using a bit of guar gum, or xanthan gum can help improve the texture as well.
The possibilities are endless. When I’m feeling creative, I like to combine fruits with herbs in my Ninja Creami ice cream, like strawberry basil, strawberry mint or peach thyme. For something a bit indulgent, mixing in cookie dough or brownie chunks with classic flavors like vanilla or chocolate never disappoints.

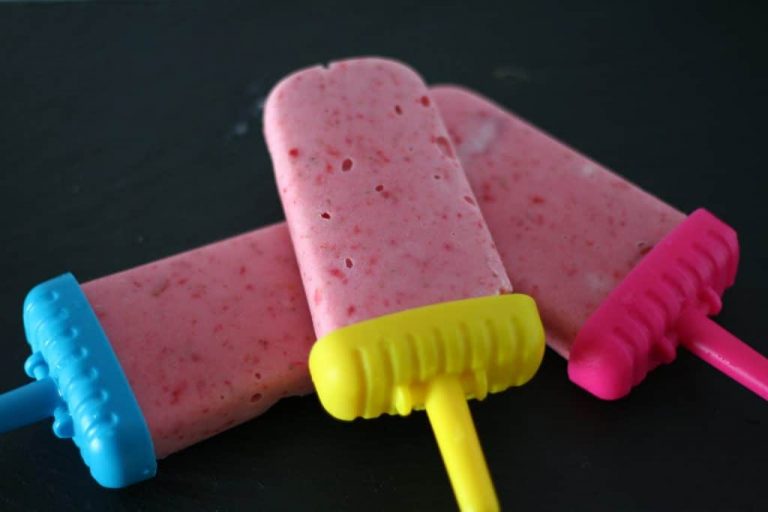
I made this ice cream recipe over the weekend and it was absolutely divine! The instructions were easy to follow and the end result was creamy and delicious. I loved the addition of fresh strawberries to give it a burst of flavor. Definitely going to make it again!
This was so delicious!! Just ate it tonight and I already can’t wait to make again. Any tips on how to make this higher in protein?